This "how-to" is part of a collaborative series of tutorials created by Etsians. More info on the artists,
tutorials and purchase option for the entire ebook here.
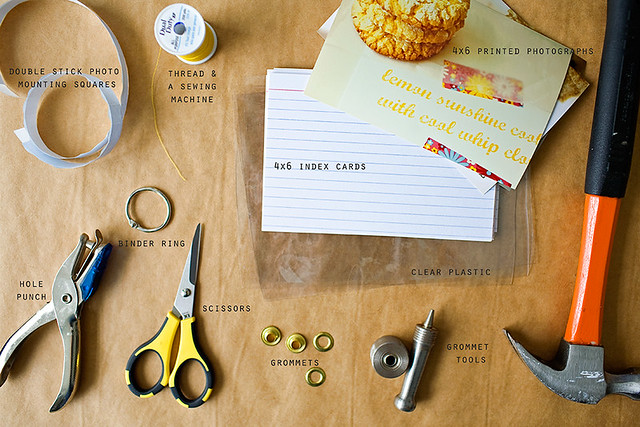
Supplies: a standard hole punch, scissors, sewing machine, thread, clear plastic (fabric store), four 4x6 photographs (the covers of your album), standard index cards (4x6), double sided photo mounting squares (Michael's), 1/4" grommets and tools (online @ Ace Hardware), hammer, and 1" binder ring
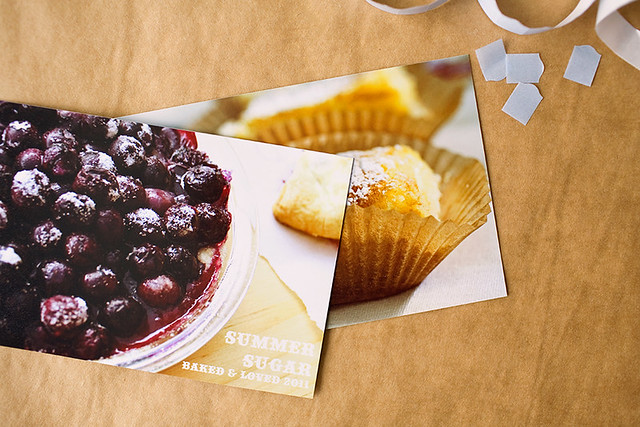
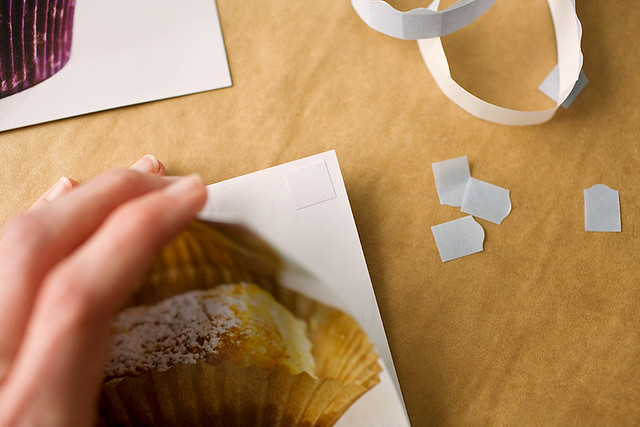
Print out photographs for the front and back covers, two for each (four photographs total). You can add a title in Photoshop or another photo editing program. Place the photographs back to back so the images are both facing out. Using the photo mounting squares attach the corners starting with the upper right corner, continue until all four corners are attached.

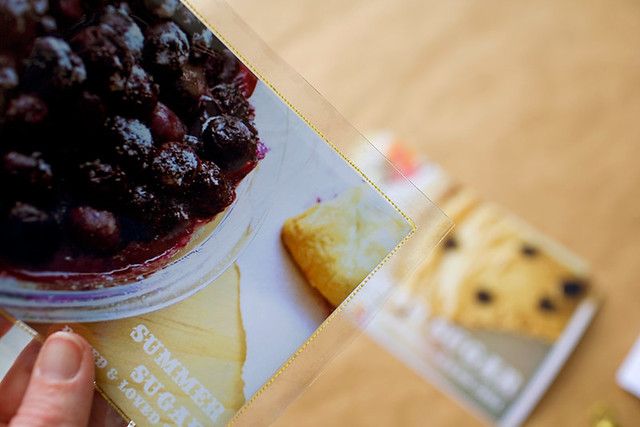
Now you have the front and back covers. Place one of the covers between two sheets of plastic that are cut to at least 4.5"x6.5" to leave a big enough border to sew and trim. Practice on your sewing machine with the plastic scraps to get the style and tension desired. Then start at the bottom left corner and sew carefully around the edge of the photograph. Sew all around until you come back to the original bottom left corner.
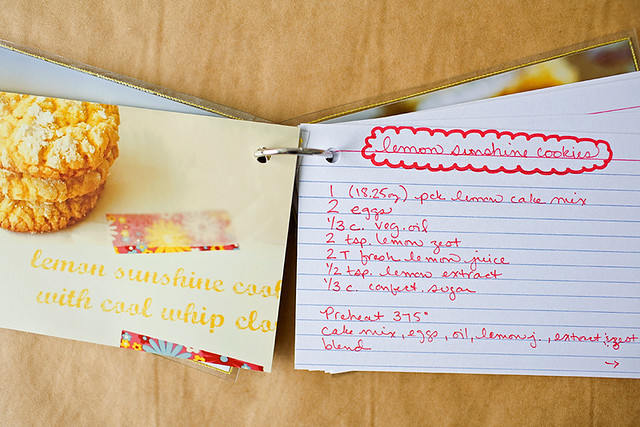
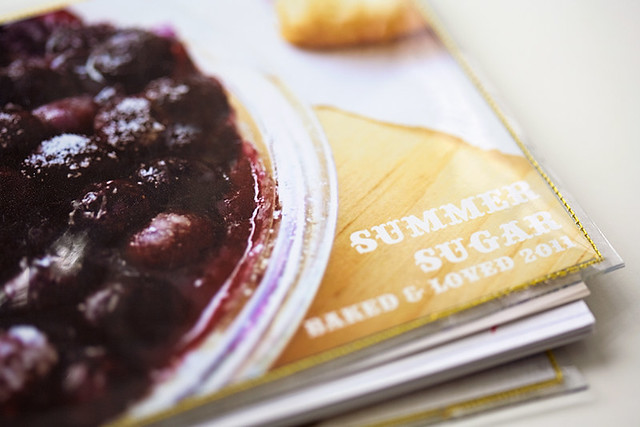
Trim off the excess plastic around the edges. Use a single index card to create a guide for where you want your hole to be then use your guide and hole punch the covers and several blank index cards.

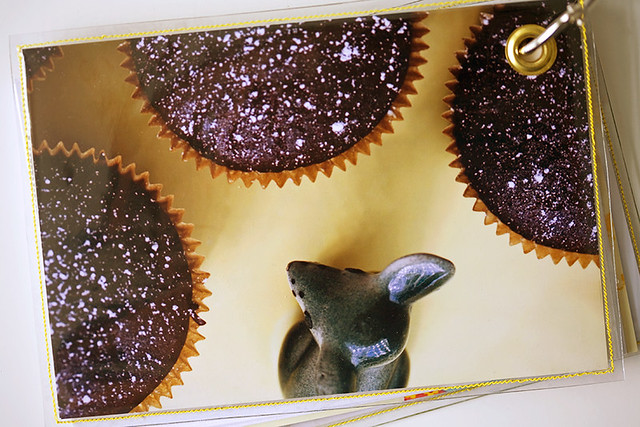
Following the instructions for your grommets (comes with them when purchased) attach the grommets to the front and back covers. Assemble by putting the binder ring through the covers and index cards.
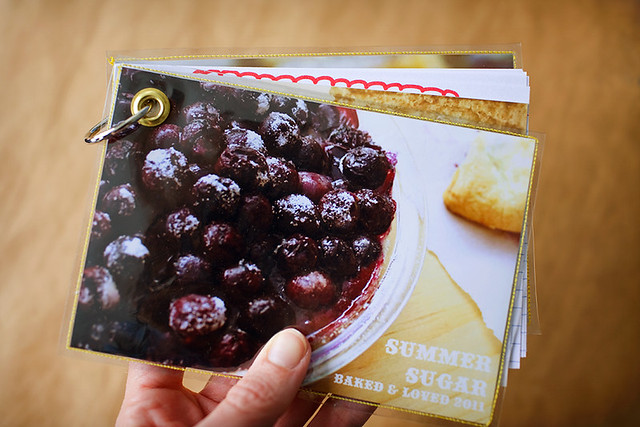
As you collect recipes write them down on the cards and photograph them once made to add to your album. By the end of the season you will have a delightful personalized recipe album to use and share.
Happy Summer Baking!!
...
